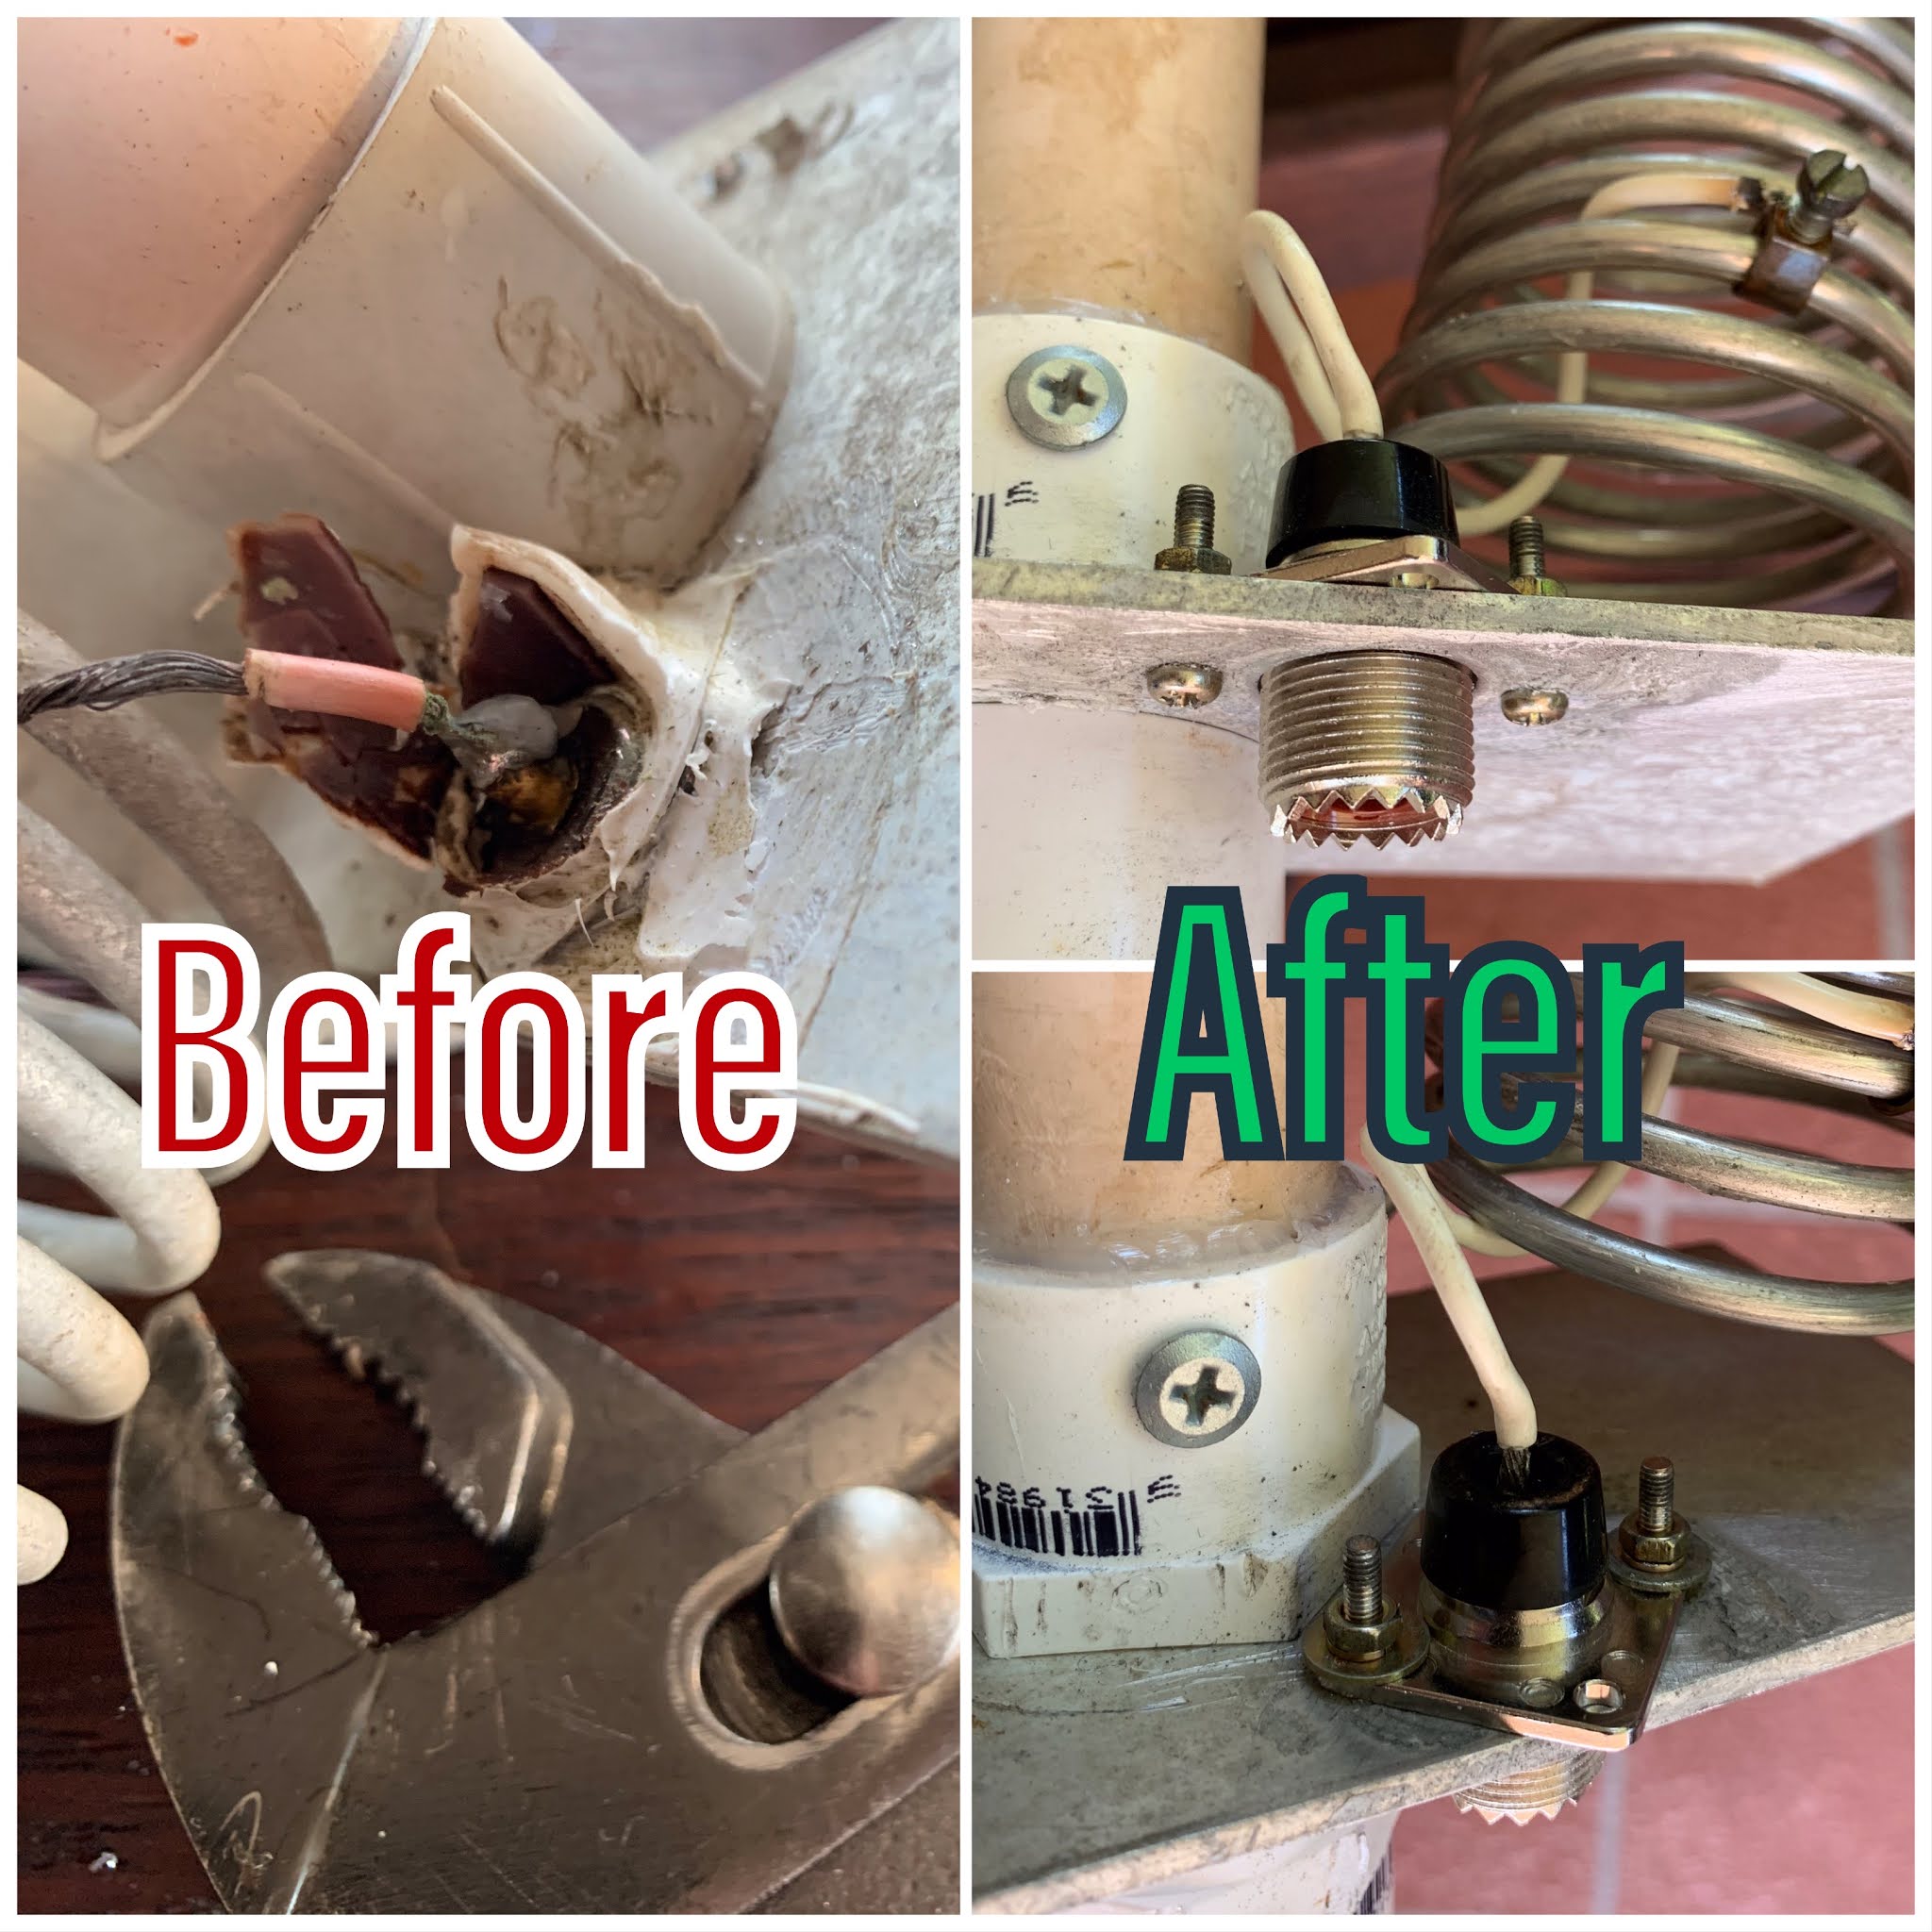
A little bit of work on the second mast with my DIY UHF beam replaced with a VHF-UHF beam and the HF vertical was straightened. Still waiting on the EFHW to arrive.
All day in Queensland’s humidity sucks but the outcome was worth it. First 11M vertical was disassembled, tuning coil replaced, connector replaced, and some of the PVC tubing replaced. I think I have the right length but will have to wait to see when I tune it.
Next was making a UHF CB yagi (477 MHz) from scratch. I had the dimensions for a 4 element yagi and just added some extra directors. I’m not sure how this will work but keen to see once I get it up in the air.
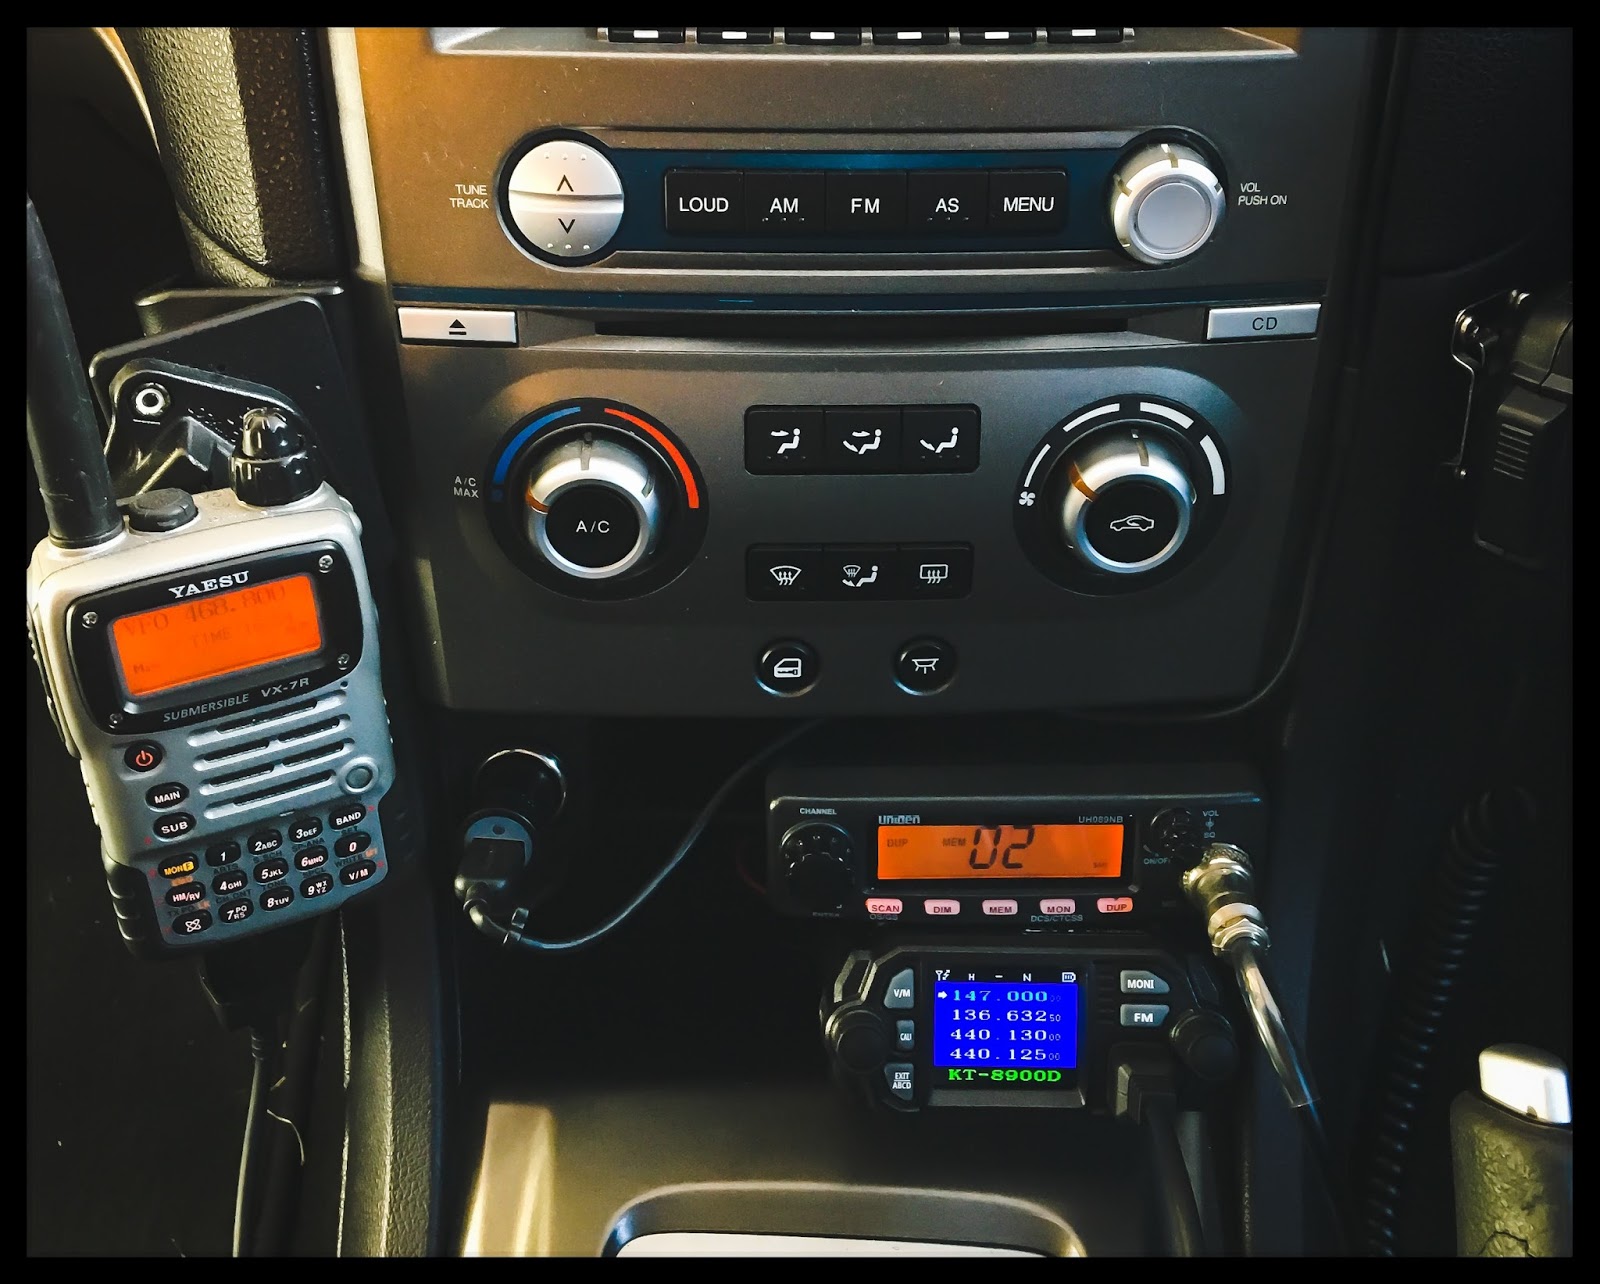
The KT-8900D arrived and I was able to easily mount it in the car. Programming it however seems to be a different story. I manually entered all my local 2M and 70cm repeaters but the radio does not seem to keep the shift and tone on each memory. I'm not sure where I'm going wrong but will keep at it.
My new high-viz housing for the Motorola XTS3000 arrived today and I was straight into it.
Not a complicated task by any means but maybe a few tricks.....
You don't really need the special Motorola tool to get the housing off unless you are truly hamfisted. I used 2 flat blade precision screwdrivers and a circlips pliers with an angled attachment.
Just pop the two screwdrivers in between the radios metal body and the housing and gently angle them outwards till the tabs are visbile and free.
Using the circlips pliers in the other hand I gently prised the radio from the housing. Just be gentle and your case should not crack. Disconnect the radio from the controls connector that is inside the housing - just pulls off (but not by the ribbon cable).
Get the other housing ready, make sure the rubber gasket running around the radio is properly in place, you have reconnected the ribbon cable from the new housing to the radio, the keypad is in?
I forgot this one and had to pull it apart again. You can see the ribbon cable in the old housing above. Angle the radio in at the top and ensure it is seated up as far as it goes and then gently push the rest of the radio into the base. Watch out for the little switch board on the side of the radio foulding the radio chassis and also make sure the gasket doesn't sneak off as it goes in.
Check everything works.
....and this is the final product with the newer UHF/GPS antenna on board.
....and with the rest of the family to give a sense of scale (Alinco DJ-G5, Moto XTS3000, Moto Saber II)
There's a bit more detail on the disassembly from "Snarlingrabiddog5150" on Youtube who goes chasing an encryption board inside his XTS3000. Some of his other videos are also very informative if you check out his youtube channel.